Spring Decor Refresh: A Room-by-Room Checklist for UK Homes
October 06, 2026 - Home Decor


October 06, 2026 - Home Decor

October 03, 2026 - Home Decor

October 03, 2026 - Interior Design

October 01, 2026 - Home Decor
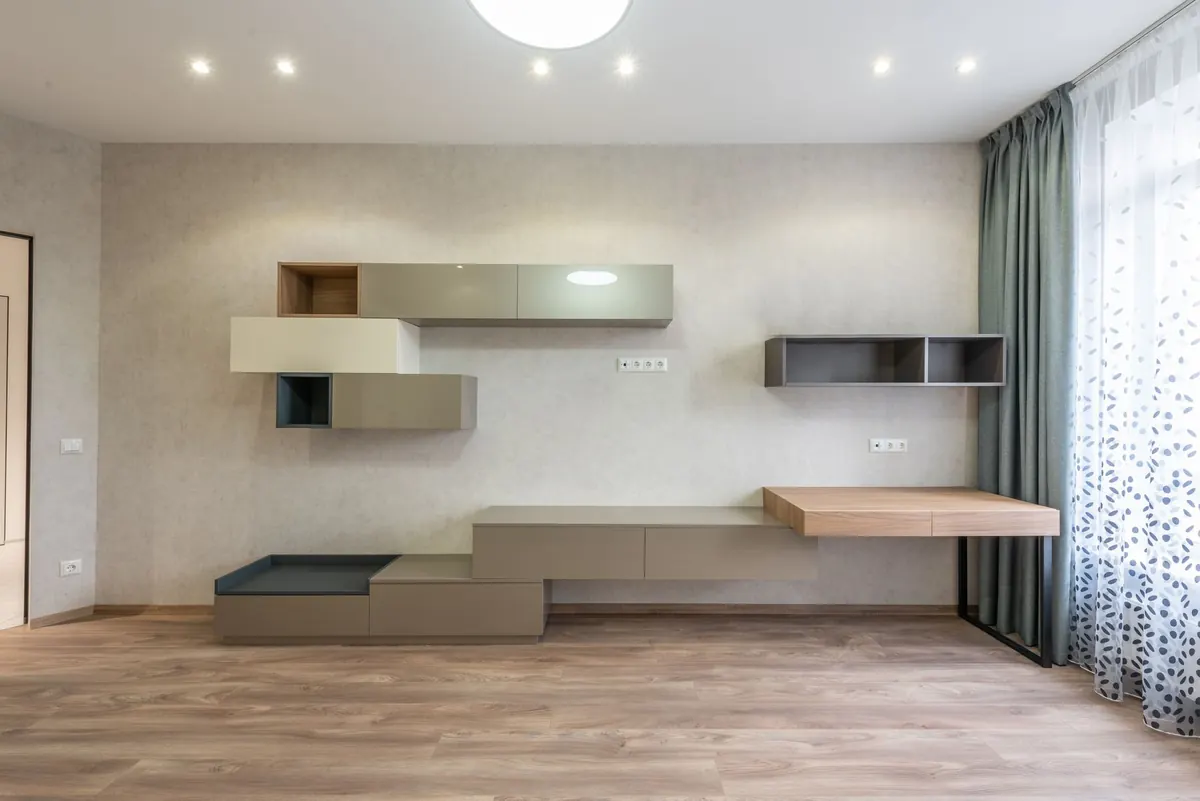
A Victorian wall is almost never flat. Run a straightedge along the wall above a fireplace and you will usually find a hollow at one end, a belly in the middle, and lime plaster that powders the moment a drill bit touches it. Floating shelves look effortless in photographs. On a 130-year-old wall, they take a bit of planning. The method below is the one joiners have used for decades: a batten fixed firmly to the wall, packed out until it sits level and true, with scribed fillers closing the gap between shelf and plaster.
There are two separate problems here, and it helps to treat them separately. The first is holding power. Victorian walls are usually brick or stone with a thick build-up of lime plaster, or lath and plaster on stud partitions in the upper floors. The plaster itself will not hold a shelf, and it never did. Fixings have to reach the brick, the stone or the timber studs behind it.
The second problem is appearance. Old plaster wanders in and out by anything from a few millimetres to a good 15mm over a short run, and no manufactured shelf is scribed to match. If you simply screw a shelf tight to the surface, it will either crack the plaster or leave a visible wedge of a gap down one side. Battens and fillers solve both: the batten carries the weight, the fillers deal with the wall.
Choose your filler timber to match the shelf if you plan to leave it bare, or use MDF if it will be painted. The fillers sit on the wall line and will be scribed, so allow a little extra width.
Tap along the wall with a knuckle. A hollow, papery sound usually means plaster that has blown away from the brick, or lath with a void behind it. A duller thud suggests you are closer to solid material. A magnet run slowly across the surface will find the nail heads in lath, which tells you where the studs are, often at 400mm or 450mm centres in Victorian work.
Drill a couple of small test holes where they will be hidden by the shelf. If the bit passes through 20mm of crumbly plaster before hitting something firm, that is normal — just make sure your screw length accounts for it. Aim for at least 40mm of thread into brick, stone or timber. In really soft, failing plaster, a resin anchor in masonry gives a far more dependable hold than a plug.
Work to a level line, never to the floor or the skirting. Mark the shelf height on the wall and strike a line with a long level, checking from both ends.
If your shelf is long — over about 900mm — use two battens or fit a batten plus discreet end supports. Anything carrying books or crockery needs more than a single row of fixings in the middle.
Scribing is the part that separates a neat job from an obvious one. The idea is to copy the wall's shape onto a strip of timber so it sits tight against the plaster.
Cut your top and bottom filler strips roughly 5mm wider than the widest gap you measured. Hold one in position against the wall, on the same plane it will finally sit. Set a compass to the widest gap, then run it along the wall with the point on the plaster and the pencil on the timber, keeping the compass square to the strip. The pencil line copies every lump and hollow.
Cut to the line with a jigsaw, sand the edge, and offer it up. You want contact along most of the length, with no gap wider than about 2mm, which caulk will happily hide. Repeat for the bottom strip and both ends. Number the strips so you know where each one belongs.
Slide the shelf carcass over the batten and check the top with your small level. Fix the shelf to the batten with screws from underneath where they will not show, or down through the top if you are adding a decorative finish over the heads. Pilot every hole first — Victorian timber and MDF both split easily.
Push the scribed fillers into place, glue them lightly and pin or screw where it is discreet. Fill the screw holes, run a thin bead of decorator's caulk along the join between filler and plaster, and smooth it with a damp finger or cloth. Paint the fillers and caulk in the wall colour so the shelf looks as though it grew there.
Give the fixings a week, then check the screws and tighten anything that has eased. Spread heavy loads along the shelf rather than piling everything in the centre. If the plaster starts to crack in a line running away from the shelf, stop loading it and investigate — that is a sign the fixing is moving.
No floating shelf is a substitute for a properly fixed cabinet. If your wall is a single skin of lath and plaster with no studs where you need them, if the plaster is blown across a wide area, or if you are unsure whether a wall is load-bearing, get a joiner or builder to look at it before you drill. It is a short conversation that saves a lot of making good later.
Photo: Max Vakhtbovych / Pexels
A practical room-by-room plan for lightening textiles, clearing clutter and adding fresh colour across a UK home...
Measuring each angled face, choosing a track that bends, and matching heading and fabric weight are what make bay...
October 06, 2026 - Home Decor
October 03, 2026 - Home Decor
October 03, 2026 - Interior Design
Copyright © 2026 Ripple Room. All Right Reserved.