Spring Decor Refresh: A Room-by-Room Checklist for UK Homes
October 06, 2026 - Home Decor


October 06, 2026 - Home Decor

October 03, 2026 - Home Decor
October 03, 2026 - Interior Design
October 01, 2026 - Home Decor

Renting shouldn't mean living with blank walls. A gallery wall is one of the cheapest, fastest ways to make a flat feel like yours, and it can come down at the end of the tenancy without a mark left behind. The trick is choosing fixings that suit your paint, frames light enough to trust, and a layout you've tested before anything touches the wall.
Not all paint behaves the same way when a strip comes off. Smooth finishes — silk, eggshell, gloss — give adhesive something to grip and usually release cleanly. Matt emulsion is chalkier and more likely to lift. Wallpaper is the riskiest of all, particularly textured paper or anything already peeling at a seam.
Skip areas that get hot or damp: directly above a radiator, inside a steamy bathroom, or a wall that catches strong sun all afternoon. Heat softens adhesive and frames start to slide.
Run a test first. Stick one strip on a patch of wall behind a wardrobe or sofa, press it down properly, leave it for a week, then remove it slowly. If the paint survives, you have your answer. If a coin-sized flake comes away with it, you've learned that cheaply and can switch to a no-adhesive approach.
Most rental-friendly gallery walls are built on two things: interlocking hook-and-loop strips, or stretch-release adhesive strips with a tab you pull. Both work. Both fail for the same handful of reasons.
Removal matters as much as hanging. Warm the strip with a hairdryer on its lowest setting, then stretch the tab slowly downwards, parallel to the wall. Pulling it out towards the room is exactly how people take a fistful of paint with them.
The biggest favour you can do your walls is to buy lighter frames. Acrylic glazing instead of glass. Slim aluminium or thin-profile wood rather than chunky, deep mouldings. Unframed prints on stiff board, held with clips or a magnetic hanger. A large print in a simple frame often weighs less than a small one in heavy glass with a wide mount.
Weigh your frames on the kitchen scales before you hang them. It sounds fussy; it takes thirty seconds and tells you immediately whether adhesive is realistic. Anything dense, or with real glass in it, belongs on a picture rail or a different wall.
Lay everything out on the floor first. Step back, take a photo on your phone and study it there — the small screen makes it obvious when something sits too high, too tight or oddly balanced. Then cut paper templates to size, tape them to the wall with low-tack masking tape, and live with them for a day. You'll spot what needs moving before you've stuck anything down, and you can mark hook positions straight through the paper.
If your walls are papered, textured or simply too uncertain for adhesive, there are still ways to hang a collection.
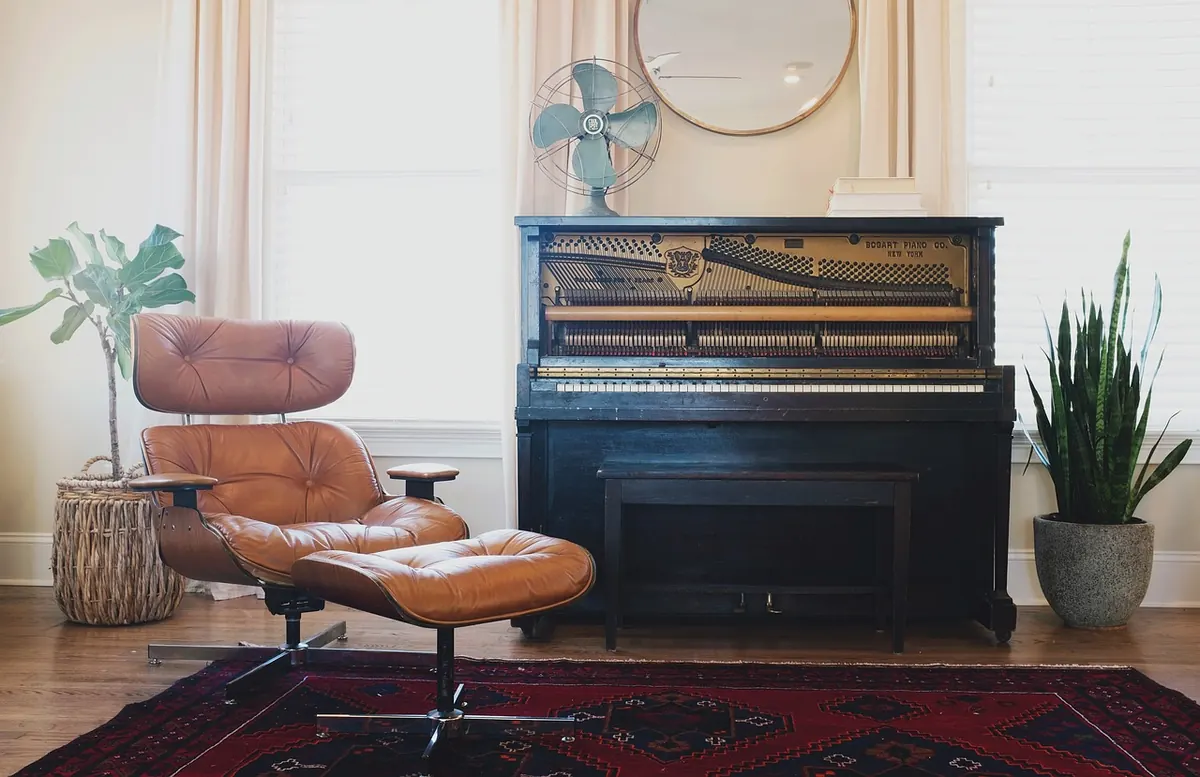
Photo: StockSnap / Pixabay
A practical room-by-room plan for lightening textiles, clearing clutter and adding fresh colour across a UK home...
Measuring each angled face, choosing a track that bends, and matching heading and fabric weight are what make bay...
October 06, 2026 - Home Decor
October 03, 2026 - Home Decor
October 03, 2026 - Interior Design
Copyright © 2026 Ripple Room. All Right Reserved.